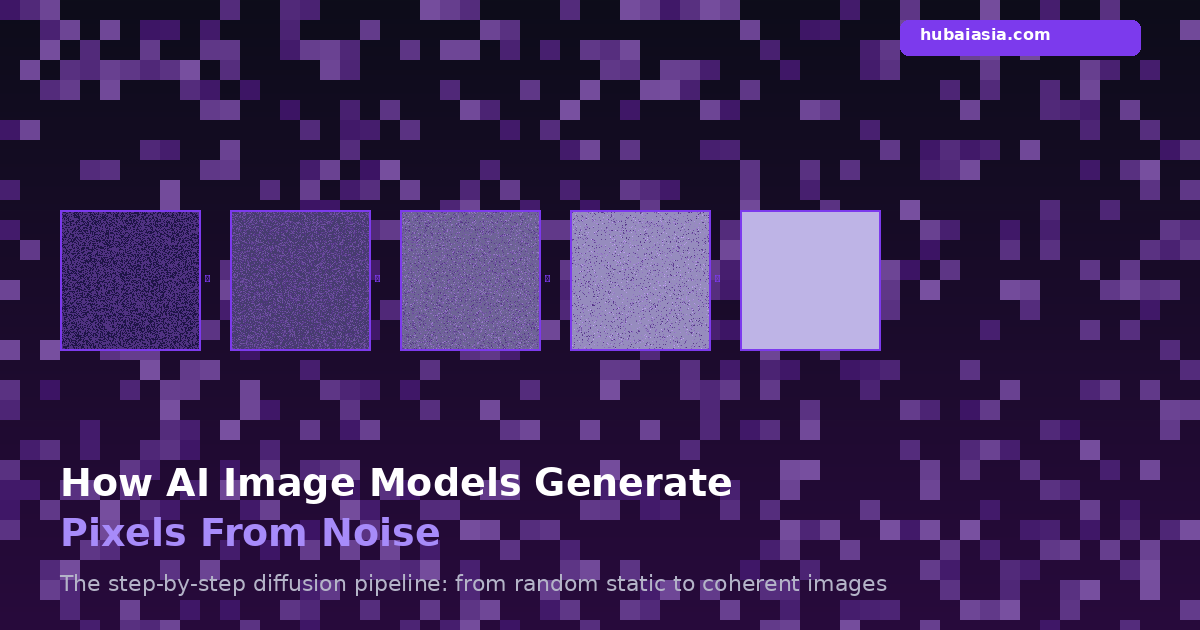
AI doesn’t paint pixels—it removes structured noise. Every time you type a prompt into Stable Diffusion, DALL-E, or Midjourney and watch an image materialize from static, you’re witnessing a process called diffusion denoising—and it works nothing like how most people imagine. The model never sketches an outline, never picks up a digital brush, and never directly computes the vast majority of pixels in your final image. Instead, it starts with pure randomness and iteratively carves away chaos until coherent visuals emerge.
- Stable Diffusion’s UNet processes images at 64×64 latent resolution, then upscales 8x to 512×512, meaning it never directly computes most final pixels.
- DALL-E 2’s CLIP model was trained on 400 million image-text pairs, but its diffusion decoder uses only 3.5 billion parameters—smaller than GPT-3.
- Midjourney v5 runs 50 denoising steps by default, but 80% of recognizable image structure forms in just the first 10 steps at high noise levels.
This article walks through the exact pipeline—from text prompt to final pixel array—so you can understand what’s actually happening inside these models. No hand-waving, no metaphors about “dreaming.” Just the math, the architecture, and the step-by-step process.
Step 1: The Text Encoder Turns Words Into Vectors
Before any pixel exists, your prompt needs to become math. That’s the job of the text encoder—typically CLIP (Contrastive Language-Image Pre-training) for Stable Diffusion and DALL-E, or T5 for Google’s Imagen.
Here’s what actually happens: the encoder tokenizes your prompt into up to 77 tokens (words and subwords), and converts each token into a dense vector—either 768-dimensional (CLIP ViT-L) or 1024-dimensional (CLIP ViT-H). These vectors capture semantic meaning: the embedding for “golden retriever” is closer to “labrador” than to “spaceship” in vector space.
DALL-E 2’s CLIP model was trained on 400 million image-text pairs scraped from the internet, learning to align visual and textual representations in the same vector space. But here’s the surprising part: DALL-E 2’s diffusion decoder uses only 3.5 billion parameters—smaller than GPT-3’s 175 billion. The heavy lifting of “understanding” your prompt is done by a relatively compact model.
Step 2: Random Noise Becomes the Canvas
Next, the model generates a tensor of random Gaussian noise. This isn’t a blank canvas—it’s pure statistical chaos. For Stable Diffusion producing a 512×512 image, this noise tensor has dimensions 64×64×4 in latent space (we’ll explain why it’s not 512×512 in Step 3).
Think of it this way: if you look at TV static, that’s essentially what the model starts with—except the “static” exists in a compressed mathematical space, not in pixel space. Every generation starts from a different random seed, which is why the same prompt produces different images each time.
The noise is sampled from a standard normal distribution (mean=0, variance=1), scaled by a factor that depends on the total number of diffusion timesteps. If you’ve ever used a “seed” parameter in an image generator, you’re controlling this initial random noise tensor. Same seed + same prompt = same image, deterministically.
Step 3: The UNet Predicts the Noise (Not the Image)
This is the heart of diffusion—and the most counterintuitive part. The UNet (a U-shaped convolutional neural network) does NOT predict what the final image should look like. Instead, it predicts what noise was added to the image at the current timestep.
“Stable Diffusion’s UNet processes images at 64×64 latent resolution, then upscales 8x to 512×512, meaning it never directly computes most final pixels.”
Why is the UNet working at 64×64 instead of 512×512? Because Stable Diffusion operates in latent space—a compressed representation where the Variational Autoencoder (VAE) encoder squeezes a 512×512×3 RGB image down to 64×64×4. That’s a 48× compression that still preserves perceptual quality. This trick is what makes Stable Diffusion runnable on consumer GPUs: instead of processing 786,432 pixel values per step, the UNet handles only 16,384 latent values.
The UNet receives three inputs simultaneously:
- The noisy latent — the current state of the “image” (still mostly noise at early steps)
- The timestep embedding — a sinusoidal encoding telling the model “how noisy” the current latent is
- Text conditioning — the encoded prompt vectors from Step 1, injected via cross-attention layers
During training, the model learned to recognize noise patterns at every timestep by having actual noise added to real images. Now, in reverse, it uses that knowledge to estimate what needs to be subtracted.
Step 4: The Scheduler Subtracts the Noise
Once the UNet predicts the noise present in the latent, a scheduler (also called a “sampler”) subtracts that predicted noise from the current latent. But it’s not a simple subtraction—the scheduler uses sophisticated mathematical algorithms to determine exactly how much noise to remove at each step.
The main scheduler families include:
- DDPM (Denoising Diffusion Probabilistic Models) — the original algorithm; slow but mathematically rigorous, requiring ~1,000 steps
- DDIM (Denoising Diffusion Implicit Models) — deterministic variant that produces similar quality in ~50 steps by skipping timesteps
- DPM-Solver — a higher-order ODE solver that can produce high-quality results in just 10-20 steps by taking larger, more calculated leaps through noise space
Each scheduler uses a beta schedule—a predefined curve of noise levels (variance) across timesteps. At timestep 0, the image is nearly noise-free. At the maximum timestep, it’s pure noise. The scheduler walks backward through this schedule, reducing noise at each step according to the UNet’s predictions.
Step 5: Repeat for 20–50 Steps
The denoising loop runs repeatedly. Each iteration:
- Feeds the current noisy latent + timestep + text conditioning into the UNet
- Gets a noise prediction back
- Uses the scheduler to subtract an appropriate amount of predicted noise
- Advances to the next (lower-noise) timestep
Midjourney v5 runs 50 denoising steps by default, but here’s what most people don’t realize: 80% of recognizable image structure forms in just the first 10 steps at high noise levels. The early steps establish composition, broad shapes, and color regions. The later 40 steps refine textures, add fine details, and sharpen edges—but they’re working on an image that’s already 80% recognizable.
This is why reducing step count from 50 to 20 often produces images that look almost identical—the “missing” 30 steps were mostly refinement. And it’s why DPM-Solver can produce great results in just 15 steps: it takes smarter, larger leaps through the early high-noise phase where structure forms quickly.
Step 6: Cross-Attention Merges Text With Image
Inside the UNet, cross-attention layers are the mechanism that actually connects your prompt to the emerging image. These layers operate at multiple resolutions within the UNet—typically at 8×8, 16×16, 32×32, and 64×64 feature map sizes.
At each resolution, the cross-attention mechanism computes a weighted relationship between the image features and the text token embeddings. When your prompt says “red car,” the attention mechanism amplifies image features at locations that should be “red” and “car-shaped,” while suppressing features that conflict.
This is why prompt adherence varies across the image: attention is computed locally, and each spatial region can attend differently to the text. It’s also why complex prompts sometimes produce “prompt bleeding”—where attributes from one part of the prompt leak into another region’s attention computation.
The multi-resolution attention is critical. At 8×8 resolution, the model makes composition-level decisions (where is the car in the frame?). At 64×64, it refines local texture (what does the car’s paint look like?). This hierarchical processing mirrors how human artists work: rough layout first, then detail work.
Step 7: The VAE Decoder Upscales to Pixel Space
After the final denoising step, you have a 64×64×4 latent tensor—a mathematically rich but visually meaningless compressed representation. The VAE decoder converts this back into actual pixels.
The decoder consists of a series of convolutional layers with upsampling that progressively increase spatial resolution while decreasing channel depth. The key operation: an 8× spatial upsampling from 64×64 to 512×512. The 4-channel latent expands through intermediate stages (64×64×4 → 128×128×channel → 256×256×channel → 512×512×channel → 512×512×3).
Each convolutional layer learns to fill in the detail that the compression discarded. The VAE was trained alongside its encoder on millions of images, learning to reconstruct perceptually accurate outputs even from heavily compressed inputs. It’s not simply “stretching” the 64×64 image—it’s hallucinating plausible high-frequency detail based on the compressed representation.
This is why AI-generated images sometimes have that characteristic “too smooth” look at high magnification: the VAE decoder is generating the most statistically probable fine detail, which tends toward smooth averages rather than the irregular textures of real photographs.
Step 8: Final Pixel Array Output
The VAE decoder outputs a 512×512×3 pixel array with floating-point values in the range [-1, 1]. A simple linear transformation maps these to the standard [0, 255] range for display:
pixel_value = ((latent_value + 1) / 2) × 255
That’s it. The image is now a standard RGB array that can be saved as PNG, JPEG, or any other format. From prompt to pixels, a typical Stable Diffusion generation on a consumer RTX 4090 takes about 2-5 seconds for 20 steps—roughly 100-250 milliseconds per denoising step.
Cascaded Diffusion: An Alternative Architecture
Not all image models use the latent diffusion approach. Google’s Imagen uses cascaded diffusion—a completely different strategy. Instead of compressing into latent space and decoding back, Imagen runs 3 separate diffusion models at different resolutions:
- A base model at 64×64 pixels (2 billion parameters)
- A super-resolution model at 256×256 pixels
- A second super-resolution model at 1024×1024 pixels
Each model runs the full diffusion process independently at its resolution. The base model generates the coarse structure, and each super-resolution model takes the lower-resolution output and diffuses it up to the next size. This avoids the VAE compression step entirely—but it’s significantly more expensive to run, which is why latent diffusion (Stable Diffusion’s approach) has become the dominant paradigm for consumer-accessible tools.
CFG Scale: The Prompt Obedience Dial
One parameter deserves special mention: Classifier-Free Guidance (CFG) scale. During denoising, the model actually runs the UNet twice per step—once with text conditioning and once without. The CFG scale controls how much the conditioned prediction diverges from the unconditioned one:
predicted_noise = unconditioned + cfg_scale × (conditioned - unconditioned)
A CFG of 1 means the prompt is essentially ignored. A CFG of 7-12 (typical range) produces images that follow the prompt well. Values above 15 start producing oversaturated, artifact-heavy images as the model over-indexes on the prompt at the expense of natural image statistics. This is why pushing CFG to extreme values gives you those hyper-contrasted, almost radioactive-looking generations.
Why This Matters
Understanding this pipeline isn’t just academic—it directly affects how you use these tools. Knowing that structure forms in the first 10-20 steps tells you why low step counts work for quick iterations. Understanding latent space compression explains why Stable Diffusion struggles with fine text rendering (it’s literally working at 1/8th resolution). Knowing about cross-attention helps you write prompts that don’t bleed attributes between concepts.
AI image generation isn’t magic. It’s a precisely engineered pipeline of encoders, noise predictors, schedulers, and decoders—each doing a specific, understandable job. The wonder isn’t that it sometimes fails. The wonder is that it works at all.
But what happens when the model hallucinates details that were never in the training data?
Built by us: Exit Pop Pro
Turn your WordPress visitors into email subscribers with an exit-intent popup that gives away a free PDF. $29 one-time — no monthly fees, no SaaS lock-in.